How to Create a Newsletter in Word the Smart Way (2026)

Looking for a simple, cheap way to create email newsletters? For anyone with a Microsoft Office account, Word feels like a natural starting point.
Why bother with other platforms when you have a word processor right there? Word is familiar and simple to use. And there are no extra costs.
In this article, I’ll walk through how to create a newsletter template in Microsoft Word. But I’ll also let you in on a secret. Designing a newsletter template in Word is not the simplest or quickest way. A much better option is to use an HTML email template editor. And use Word to write your copy. I’ll talk you through how to do this for free.
Why You Need a Newsletter Template
A newsletter is different from a standard email. It’s as much about the visual design and email layout as the actual content. The design side takes time and work.
Doing it from scratch every time is inefficient. That’s why you need a newsletter template. Once you have a custom newsletter template, you can just fill in the text each time. It saves so much time.
Word has newsletter templates. But the designs are basic, and the choice is limited. Like all word-processor software, Word isn’t built for graphic design. So it’s hard to create anything other than basic visuals. Sending Word documents as emails poses problems, too.
For all of these reasons, it’s better to create HTML email newsletter templates. HTML is the web programming language to build websites and emails. Including email templates.
Best of all, you don’t even need to know how to code to create HTML email templates. The best free email template editors, like Stripo, offer hundreds of customizable templates for free. You can edit them with user-friendly drag-and-drop design tools. And then export the template to an email marketing service to send out.
How to Create a Newsletter in Word (The Best Way)

So let’s start with the best and easiest way to create a newsletter in Microsoft Word (MS Word). We’re going to split the work. We’re going to write and format the newsletter copy in Word. But we’re going to use an email newsletter template from Stripo for design.
Doing things this way means you’re using the right tools for the right job. I’ve mentioned how many fully customizable templates Stripo has. So half the work is already done for you.
Stripo is also incredibly easy to use. You’re building sophisticated HTML email templates. But there’s no coding or anything technical. The drag-and-drop editor means you just have to click on page elements to see styling options. And then move them wherever you want.
As a bonus, all Stripo templates are responsive by default. So they will adapt to look great on different device screens automatically. You can also export templates to lots of different email service providers. Again, they will work and look great in all of them.
Get started with a free newsletter template in Stripo
You can type text directly into Stripo templates. But it’s better to write copy in Word. After all, that’s what it was built for. Here’s how to do it, step by step.
1. Open a Blank Document in Word and Write Your Email Copy
I’d always start by writing your newsletter copy first. Why? Because your copy will tell you a lot about the layout and design. Things like how many sections you have, how many text boxes you need, and how big each one needs to be.
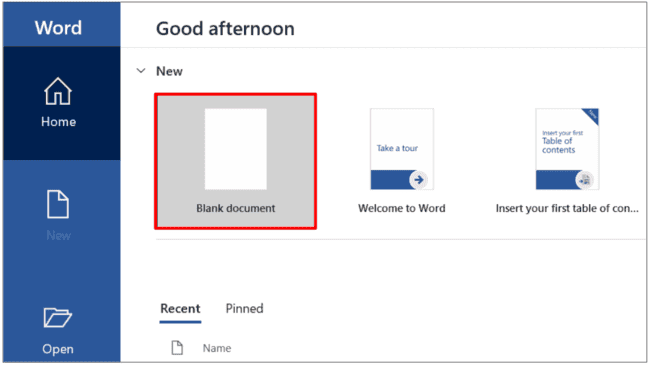
Open Microsoft Word and create a blank document. You don’t need to bother with any newsletter template. All we are doing here is typing the copy.
Next, plan out the content for your newsletter. Some people like to send newsletters with one main story covered in depth. Others like to share several pieces of ‘news’ at a time.

I’ve gone with 3 sections. A ‘lead’ story or introduction at the top. And then 2 shorter sections. I only want to make these snippets of the story. I want people to click the links to my website to read more.
Next, I do some basic text formatting. I’m not expecting to make anything that looks great at this stage. But I can add bold, italic, links, and subheaders.
2. Choose a newsletter template in Stripo
Now you have your content planned out, it’s time for your template. The first reason we recommend Stripo is that it has more than 1600 templates. All HTML. All professionally designed and formatted. All responsive.
If you click the ‘Type’ drop-down menu above the templates, you can filter for newsletter templates:
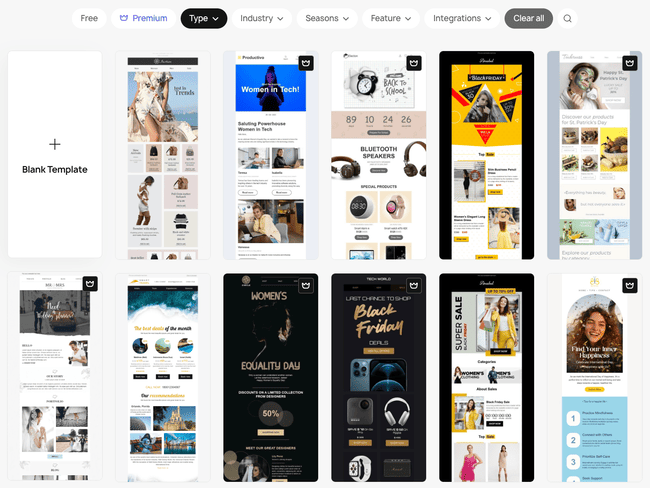
There are 40+ newsletter templates and 40 email digest templates. With so much choice, there’s a high chance you’ll find one that fits your needs. And if you don’t, you can still choose Blank Template and start from scratch.
And that brings me to the second reason we recommend Stripo. Editing and customizing templates is really easy. Stripo comes with its own user-friendly drag-and-drop editor for creating and tweaking your designs. You don’t need any design experience or coding skills. Here’s how to do it.
Browse 1600+ email templates @ Stripo
Edit the layout
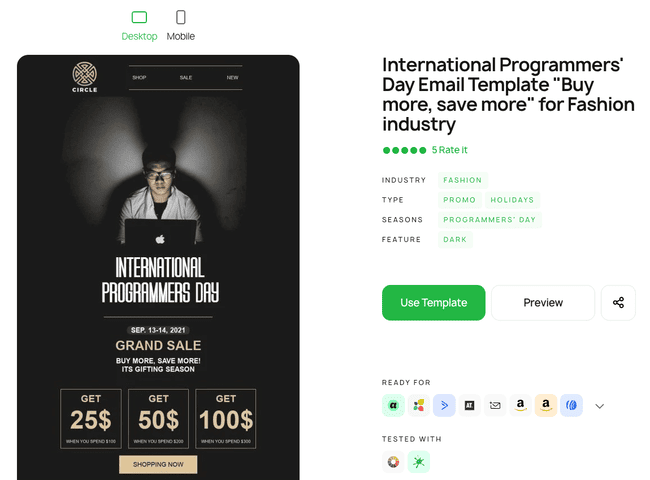
When you click on a template, you will see a preview page like this. This gives you information about the template. Including which email platforms it’s compatible with.
If you are happy with the template, click Use Template if you are already logged in. You will be taken straight to the editor. If not, sign up for a free account.
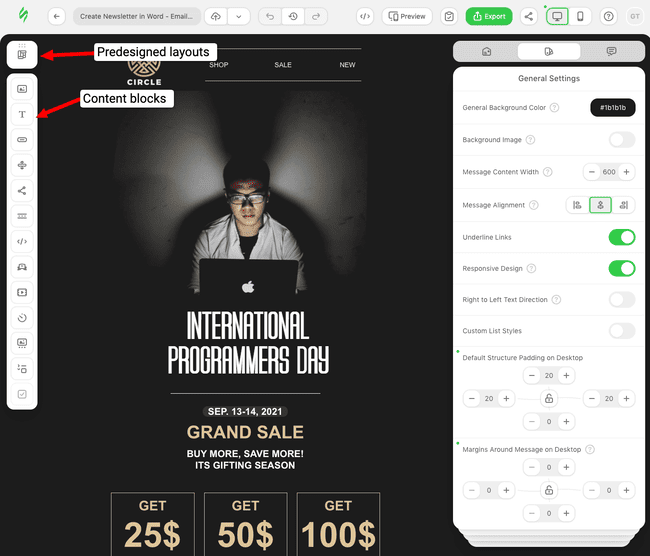
This is the view you get when you’re starting with a new newsletter template. You can drop in predesigned layouts and content blocks from the left. And edit General Settings on the right.
I want to start by customizing the email layout to match my content. So I’ll use go into Structures and Modules to find prebuilt layouts that match my content. Stripo has layout modules for templates. This saves time that I’d spend matching the designs to fit my template.
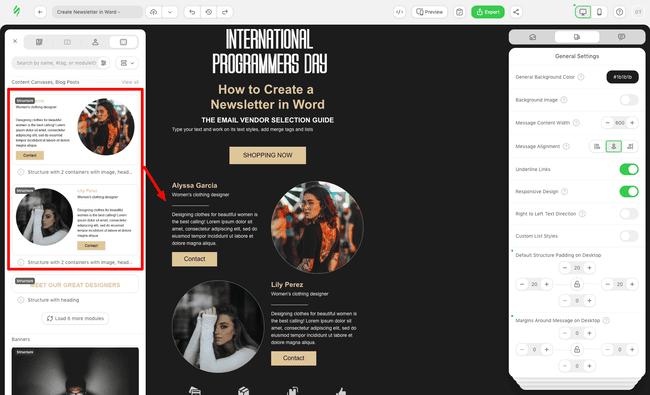
My text has 1 main ‘lead’ section and 2 smaller sections. The header works well for the main story, I just added a text box with some paragraph spacing. For the 2 smaller sections, I chose 2 layouts that mirror each other. All you have to do is click and drag the rows into position. They automatically match the template’s background colour and style.
I now have a working layout with enough white space. But I also have some parts from the template I don’t need. So next, I did some deleting. To delete a row, click on the right-hand box. Then choose the bin icon.
Copy your text from Word
Layout done, it’s time to fill your template with content. Rows already contain content blocks. The 2 I added to my template include text blocks, image blocks and CTA buttons.
I simply pasted text from my Word doc into the text blocks. I had more text than was in the original template. So next I had to do some formatting.
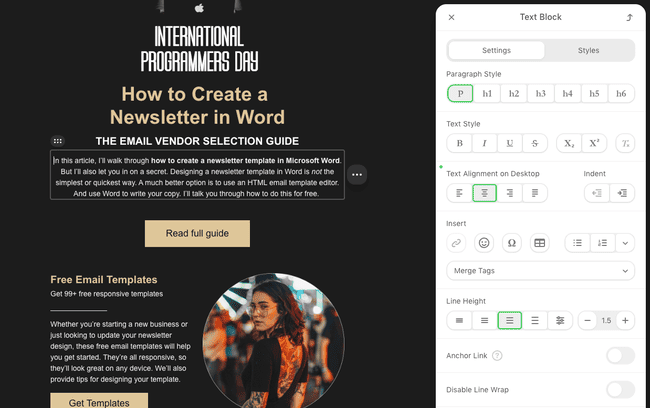
When you click on a text block, you’ll see the formatting options on the right. I changed the font size in some of the blocks to make everything fit better. And changed the colour of some headers to make them stand out more. You can select global paragraph and heading styles in Stripo, so your newsletter will have a consistent look.
Drop your images
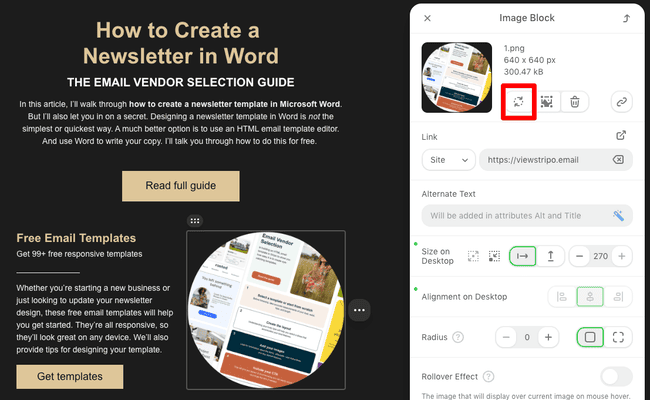
Adding images works just the same as pasting text. My layout rows already had image blocks. So I just highlighted each block and clicked Replace Image.
If you want to add more images, drop an image block from the left side. All content block types are listed here. You just need to drag them into position.
When you add images, you click through to an image gallery. You can upload images from your device or import them from other websites. Stripo also offers a free stock image library, AI image generation, icons, GIFs, and decorations.
Include your CTA
A newsletter is about more than just giving subscribers and customers something to read. It should serve a purpose for your business. Like driving traffic to your website. Or promoting a particular product or service. Or getting your subscribers to sign up for something else you offer.
A CTA is your way of inviting people to do any of these. Stripo features pre-formatted buttons that look neater than a plain hyperlink. My layout already contained buttons. But you can drop them in easily from the Content menu.
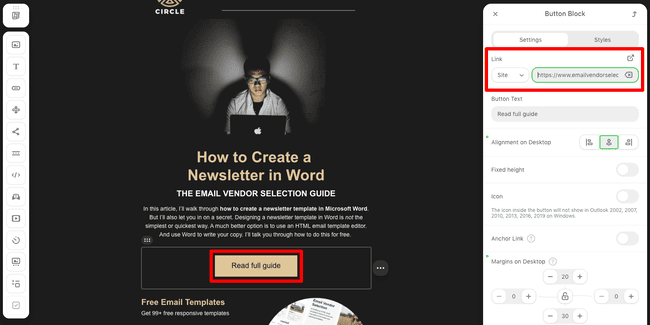
Setting up a CTA button in the Stripo editor couldn’t be easier. Just highlight the button to edit the text you want to display. Then add the URL of the page you want to link to.
Check out our in-depth guide on how to create an HTML email for step-by-step instructions.
3. Export Your Newsletter to Your Email Marketing Tool
With your template built, it’s time to send out your newsletter. The best way to do this is to use an email marketing service. Email marketing software has several benefits, including:
- Good deliverability rates for sending email blasts
- Easy contact list management, including segmenting who you send to
- Email marketing automation
- Extra tools like list building, landing pages and CRM.
If cost is an issue, no problem. There are several free and cheap email marketing services and free SMTP servers that let you send newsletters out for free. They will have limits on the number of emails you can send and/or the size of your contact list. But if you are just getting started with newsletters, this is unlikely to be an issue. Check out our overview of the best email newsletter software for newsletter-specific tools.
Another benefit of using email marketing software is that it’s easy to export a template from Stripo. Here’s how you do it.
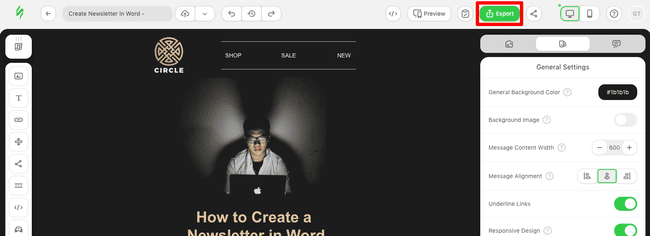
Click Export at the top of the editor, then choose File and HTML.
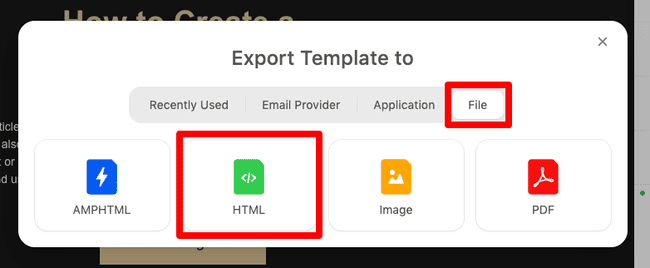
This is the most cost-effective method. It downloads the HTML code and all images you used onto your computer. Most email marketing platforms let you import HTML files to create new templates.
There is a direct push option for sending your HTML code straight to your email service. But for this you need a Stripo account with a paid plan.
How to Create a Newsletter in Word and Send with Outlook
Still want to try designing an email newsletter in Word? OK, I’ll show you how. But I’ll repeat my earlier warning. Your design and sending options will be limited compared to using an HTML editor. And your email layout may not display correctly in inboxes.
1. Search for Newsletter Templates and Choose One
To find an email template in Word, go to the File menu tab. Click New and then scroll through the document types or use the search bar.
You can click on each template to preview it and get more details about it. When you’ve made your choice, hit ‘Create’.
If you can’t find a template you like, you can start with a regular Word document. But this will take a lot longer than using a blank HTML template in Stripo. Formatting in Word is more work than choosing a preset page layout and dropping in content.
2. Edit Your Newsletter Template in Word
Whether you’re making an HTML or Word document, the basics of editing a newsletter template are the same.
Edit the layout
This is where you’ll really notice the limitations of using a Word template. It’s difficult to achieve anything more than the most basic newsletter layouts. And if you try, it’s easy to mess up a template. But here are your options.
If the template has been created using columns, go to the page Layout tab. Here you can use the Columns option to add more columns. You can also change the Page Colour in the Layout menu.
If your template has been made using tables, you have a bit more flexibility. Click on the page and you will see a Table Layout tab appear at the top of the page.
Here you can add, delete or merge rows, columns and cells. This gives you the freedom to create some interesting layouts. But working with tables can be fiddly and time-consuming. Remember to set the cell border colour to match the background colour so they don’t appear on the page.
Write text
This is where Microsoft Word is strong. As I mentioned earlier, the text formatting options are great. You can make your text look impressive with a huge choice of styles, colours and more. Be careful, email clients only support certain fonts. If you choose a font that your recipients client doesn’t support your text will display with a fallback font. This often breaks the layout and makes your message look awful. Professional email editors only include fonts supported by email clients. Another reason to go that route.
If you’re using a column layout, here’s a good tip. You can format text boxes to break up the layout. Go to the ‘Insert’ tab in the top menu. Then choose Text Box. Click and drag to create a box the size you need. Then simply click inside the box to type your text.
Add your images
To add images, again go to the Insert menu. Then select Pictures. You can upload images saved on your device or in your OneDrive cloud account. Or search stock images.
Positioning images can be tricky in Word. You might have to resize on screen. This is just a case of clicking and dragging the corners. You also have to set text wraps. This sets how images appear around text.
If you plan on using lots of images in your newsletter, use a table layout. That way you can keep pictures and text separate. Just paste an image into a single cell or merged cells. And have your text in another. That way, you can format images without worrying about wrapping.
Include your CTA
Unlike Stripo, Word doesn’t have any pre-formatted link buttons. But they are not too tricky to make. Just follow these steps:
- Go to Insert and select Text Box again.
- Create your text box.
- Choose a background colour for your box. And format other style options like outline colour and weight.
- Type your CTA in the box.
- Highlight the CTA text, right-click and select Link.
- Paste the URL of the webpage you want to link to.
- Highlight the text again. Links will automatically appear underlined in Word. But you can change this using the usual text styling options.
3. Send Your Newsletter
The biggest drawback to creating a newsletter in Word comes when you try to send it. Here’s the main rub. You can’t use most email marketing software. Why? Because email marketing platforms send HTML documents. A Word doc is not HTML.
Some email marketing tools offer a Rich Text email builder. You can paste content from a Word doc into a Rich Text editor. But there is no guarantee all the formatting will be saved. Especially if you use tables and lots of images and objects.
The standard way to send any Word doc by email is as an attachment. But this isn’t good for an email newsletter. You want your contacts to click open and see the newsletter right away. Asking them to open another attachment will lead to fewer clicks.
If you use Microsoft Outlook, you can send a Word document as the body of an email. First, you have to link your Outlook and Office 365 accounts. Then you can use the Send to Mail Recipient option in the Quick Access toolbar. Stripo has free Outlook email templates if you want to avoid hassling with Word.
Concluding How to Create a Newsletter in Word
So to sum up my advice on creating an email newsletter in Word. Don’t. Or at least, don’t try to do it all in Word. Your newsletter design and sending options are limited. You’ll struggle to make a visually appealing newsletter that grabs readers’ attention. And you won’t be able to send it using most email newsletter software. Which means no contact segmentation, no performance tracking, and no automation.
By far the best option is to use an HTML email template builder to design your newsletter. Then write, copy and paste your content from Word. Stripo offers 1600+ pre-designed templates you can customize, saving time and effort. Designing a newsletter in a drag-and-drop HTML editor is much easier than using Word. And you get free responsive email templates you can export into any email marketing software.